 |
| Darren is a bit dusty. |
This is Darren. Hi, Darren! He's a Triad Omega and he needs some clothes that match his dashing good looks and broad shoulders. I'm not sure about the look, but the shoulder room I can probably manage.
This is the first time I've attempted a sweater. I don't know what I'm doing and I'm not in the mood for extensive research, so there's lots of trial and error involved here. Material is an old T-shirt I think and some very very blue stretchy fabrid I had lying around. Not the colors I'd pick ideally, but good enough for practice. The stretchy stuff is for hems and cuffs. It's a bit thicker than I would like but I'll give it a try.
I was going for a simple, loose model since I don't think I could manage a more form-fitting style. It also helps hide bulky seams, particularly around the cuffs.

One thing I wasn't sure of was where to place the sleeves: high up or low on the shoulder? I went with low since I thought it would make his shoulders less pronounced, and also to go with the loose fit.
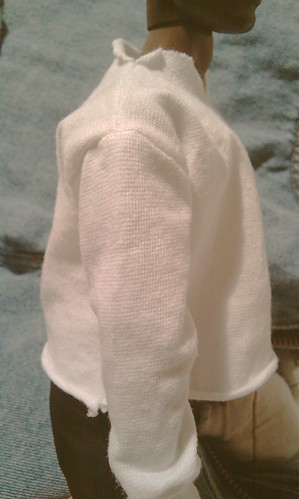

Unfortunately I managed to miss the marking by about a 5-10 mm and the seems ended upp even lower down on the arm than planned! This also meant the torso ended up too wide, moving the look from "loose fit" to "hockey goalie gear"... I haven't decided yet if I'll remove the sleeves and try again, or leave it as it is. I'll probably hem the v-neck first and see how that turns out before I decide.

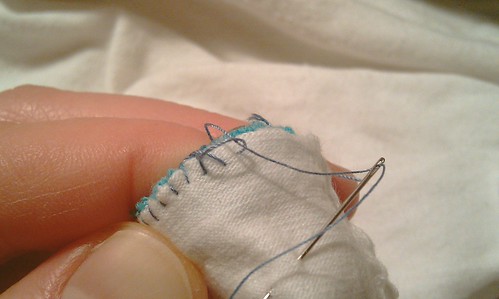
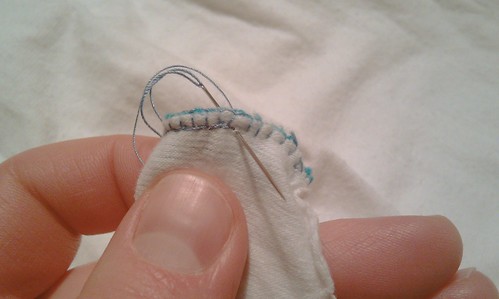
Now, I know very little about sewing but one thing I've managed to pick up somehow is the importance of zig-zaging the edges to prevent fraying, particularly when attaching stretchy hems. In 1/6 scale it's really not feasible to do on the machine, so I'm improvising something similar by hand. This stitch most certainly has a name, but I can't be bothered to look it up right now. Is this how a professional would do it? I have no idea, but it seems to be working.
The one on the left I "zig-zaged" after attaching the cuff, the one on the right I did it the other way around. The one on the right looks slightly better, I think.
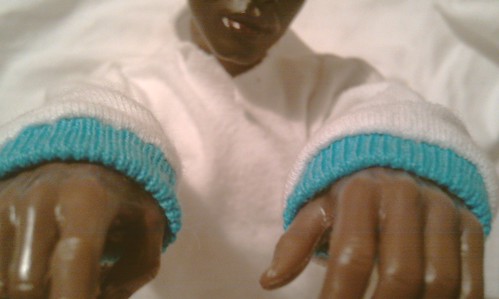
Yes, of course one turned out shorter than the other. I can live with that. :)
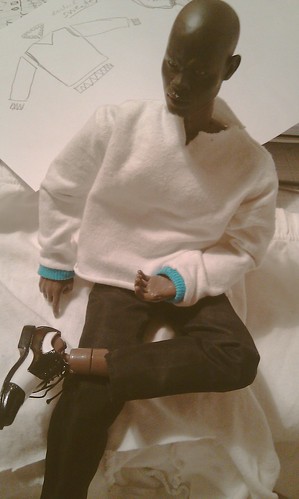 |
| Note incredibly unspecific idea sketch in background. |
Well, that's as far as I got in the first sitting. Stay tuned for part 2!
(All pictures preserved for posterity on my Flickr, here.)
Lucky Darren! Getting a tailored shirt.
ReplyDeleteThose are spectacular spectator shoes he's got - try saying that fast 3 times, lol. May I ask where you got those shoes ... or did you create them expressly for him?
Well, we haven't seen the end result yet... :D
DeleteI love the shoes too - I wish I could take credit for them! They're by ACI Toys, I think?
Good job and nice first post! I haven't tried to make anything for my guys yet. I think it came out well. Were you using a thimble to keep the fabrics together while you were sewing it or for some other reason?
ReplyDeleteThanks! Although I have to admit I haven't finished it yet... The thimble was mainly for keeping the fabrics together and stretched, but it also made sure I didn't leave blood stains all over the white sweater. :D
Delete